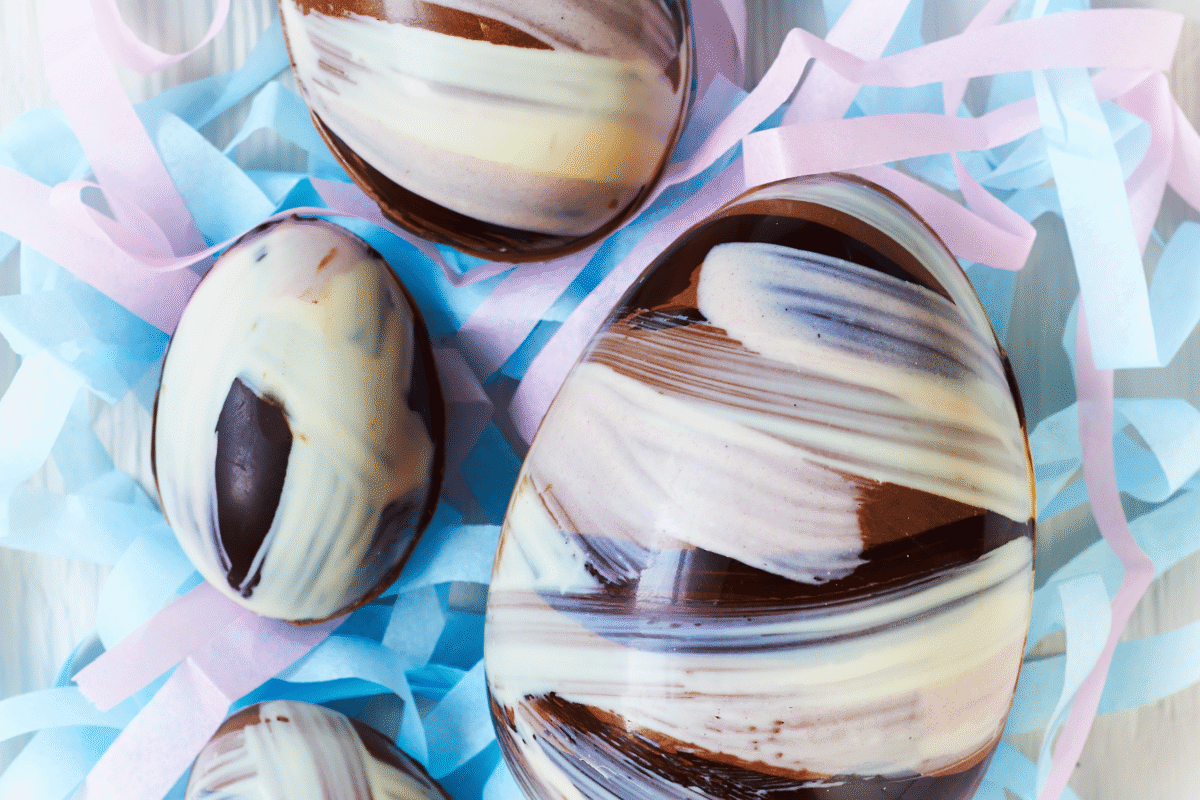
Have you ever wondered how to achieve that perfect, glossy finish on homemade chocolates, with a satisfying snap that rivals professional confectioners? The secret lies in a classic technique called tempering. This process of carefully heating and cooling chocolate is what creates an even, stable crystal structure in the cocoa butter, transforming it into the ideal medium for creating beautiful moulded shapes, decadent truffles, and stunning chocolate decorations.
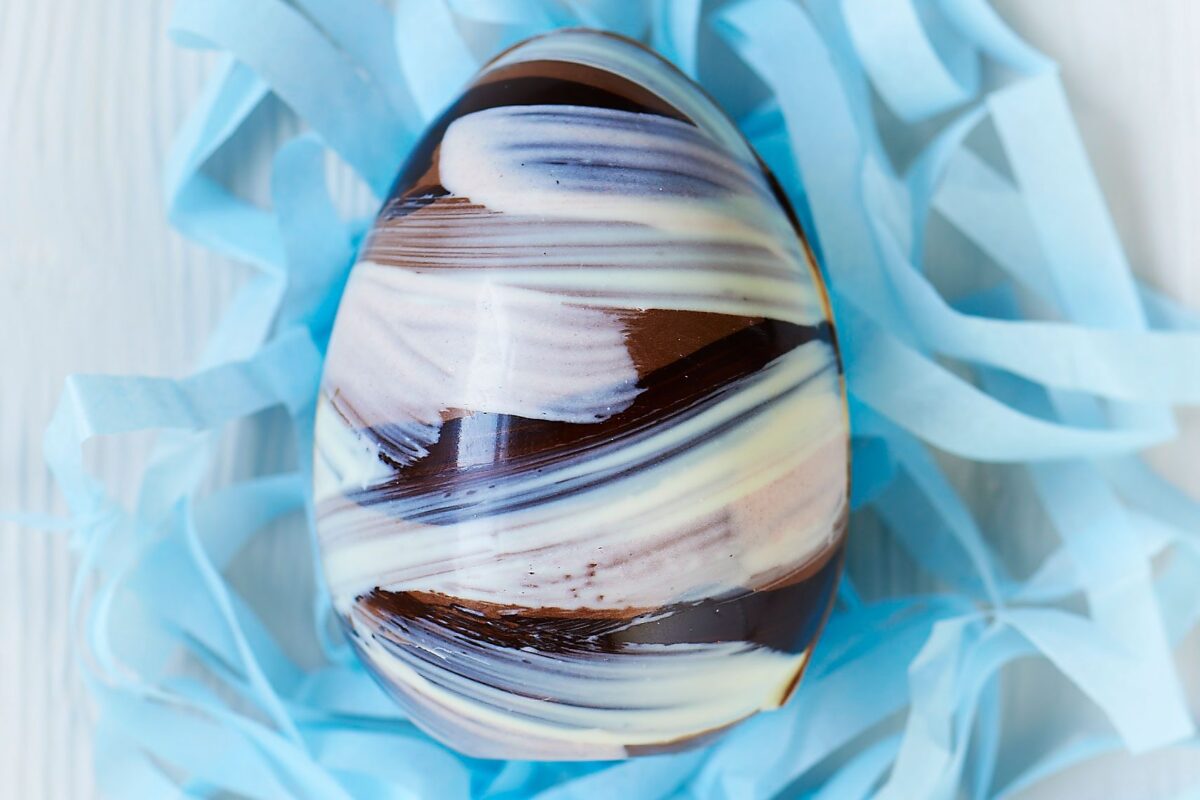
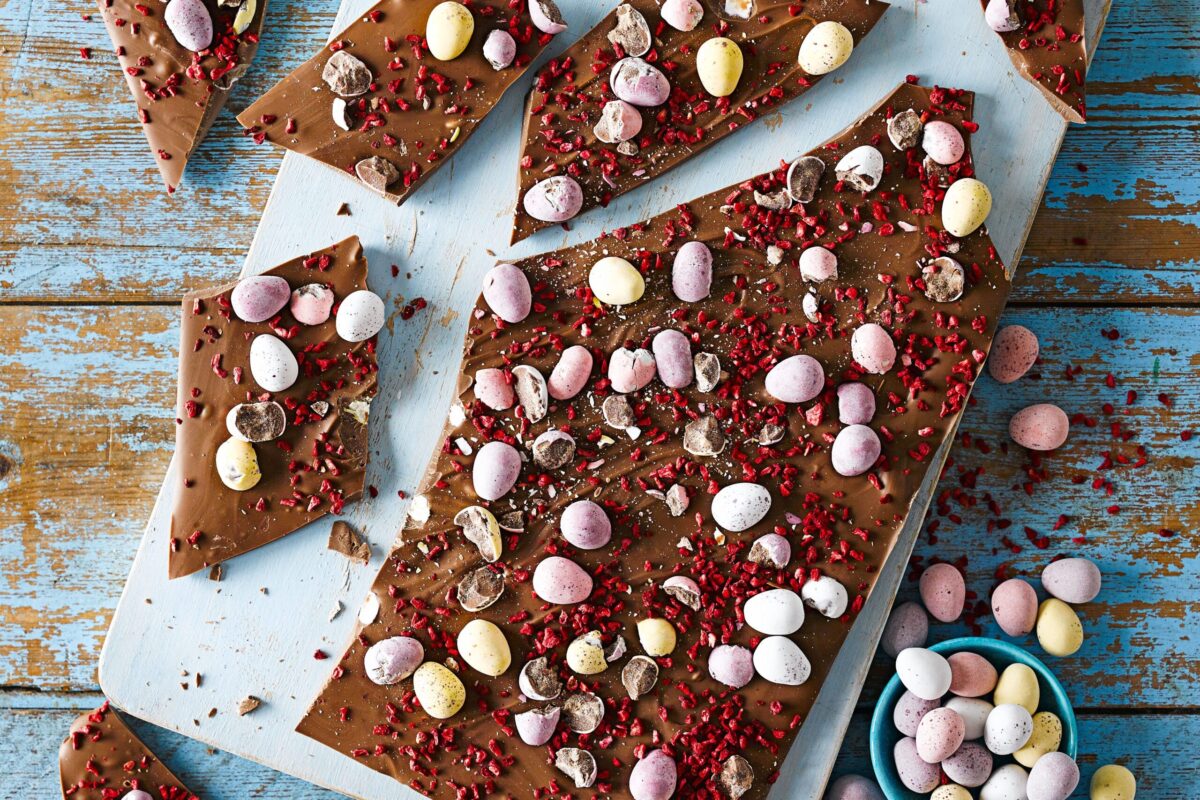
Tempering is essential whenever you want chocolate to set hard and shiny at room temperature. Without it, melted chocolate will set with a dull, sometimes streaky appearance and a soft, crumbly texture. Properly tempered chocolate, on the other hand, is the key to crafting everything from delicate Easter eggs and chocolate bark to perfectly dipped strawberries that look as incredible as they taste.
For the best results, it’s crucial to start with the right ingredient: high-quality couverture chocolate. Unlike standard chocolate chips, which contain stabilizers to hold their shape, couverture chocolate has a higher percentage of cocoa butter. This allows it to melt smoothly and form the specific type of crystals (known as Type V) that give tempered chocolate its signature qualities. We’ll be using the ‘seeding’ method, a wonderfully reliable technique for home cooks that doesn’t require a marble slab—just a little patience and precision.
What You’ll Need
- 400g (14 oz) high-quality dark, milk, or white couverture chocolate
- Heatproof bowl
- Saucepan (for a double boiler)
- Digital kitchen thermometer
- Flexible silicone spatula
- Serrated knife or food processor
The Three Key Temperature Zones
Mastering the tempering curve is everything. Chocolate must be melted, cooled, and then gently reheated to very specific temperatures to encourage the right crystals to form. While these can vary slightly by brand, these ranges are a reliable guide:
- Dark Chocolate: Melt to 45-50°C (113-122°F), cool to 28-29°C (82-84°F), and reheat to a working temperature of 31-32°C (88-90°F).
- Milk Chocolate: Melt to 45-50°C (113-122°F), cool to 27-28°C (81-82°F), and reheat to a working temperature of 29-30°C (84-86°F).
- White Chocolate: Melt to 45-50°C (113-122°F), cool to 26-27°C (79-81°F), and reheat to a working temperature of 28-29°C (82-84°F).
Instructions
- Prepare the Chocolate: First, prepare your ‘seed’ chocolate. Finely chop or process about one-quarter (100g) of your chocolate and set it aside. This will be used to cool down the melted chocolate. Roughly chop the remaining three-quarters (300g).
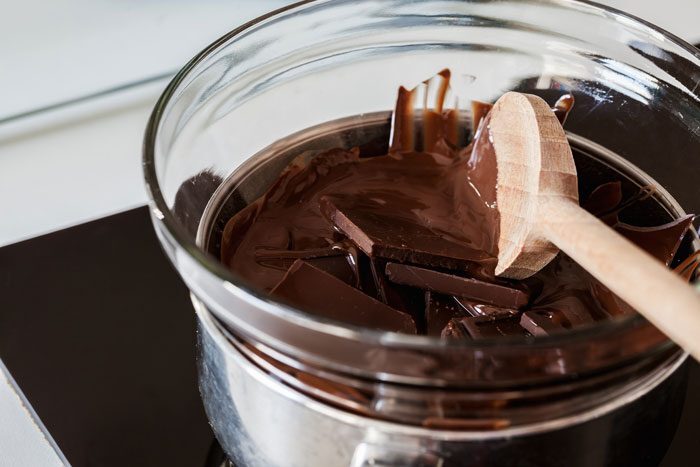
- Melt the Chocolate: Create a double boiler by placing your heatproof bowl over a saucepan with an inch of simmering water. Ensure the bottom of the bowl does not touch the water. Add the 300g of roughly chopped chocolate to the bowl and stir gently with your spatula until it is completely melted and smooth. Use your thermometer to monitor the temperature, making sure it reaches the initial melting zone of 45-50°C (113-122°F) for all chocolate types.
- Cool and Seed: Once melted, remove the bowl from the heat and wipe the bottom dry to prevent any water from getting into your chocolate. Now, begin the ‘seeding’ process. Add the 100g of finely chopped chocolate to the melted batch and stir continuously. The solid chocolate will melt while simultaneously lowering the temperature of the entire mixture. Keep stirring until you reach the target cooling temperature for your type of chocolate (e.g., 28-29°C for dark chocolate). If some small pieces remain unmelted, you can remove them or gently blend them with an immersion blender.
- Reheat to Working Temperature: Place the bowl back over the simmering water for just a few seconds at a time, stirring constantly, to bring it up to the final working temperature (e.g., 31-32°C for dark chocolate). Be very careful not to overheat it, as this will undo all your hard work!
- Test for Temper: To check if your chocolate is in temper, dip a spoon or knife into it and set it aside at room temperature. If it’s correctly tempered, it should start to set within 3-5 minutes and have a streak-free, glossy sheen.
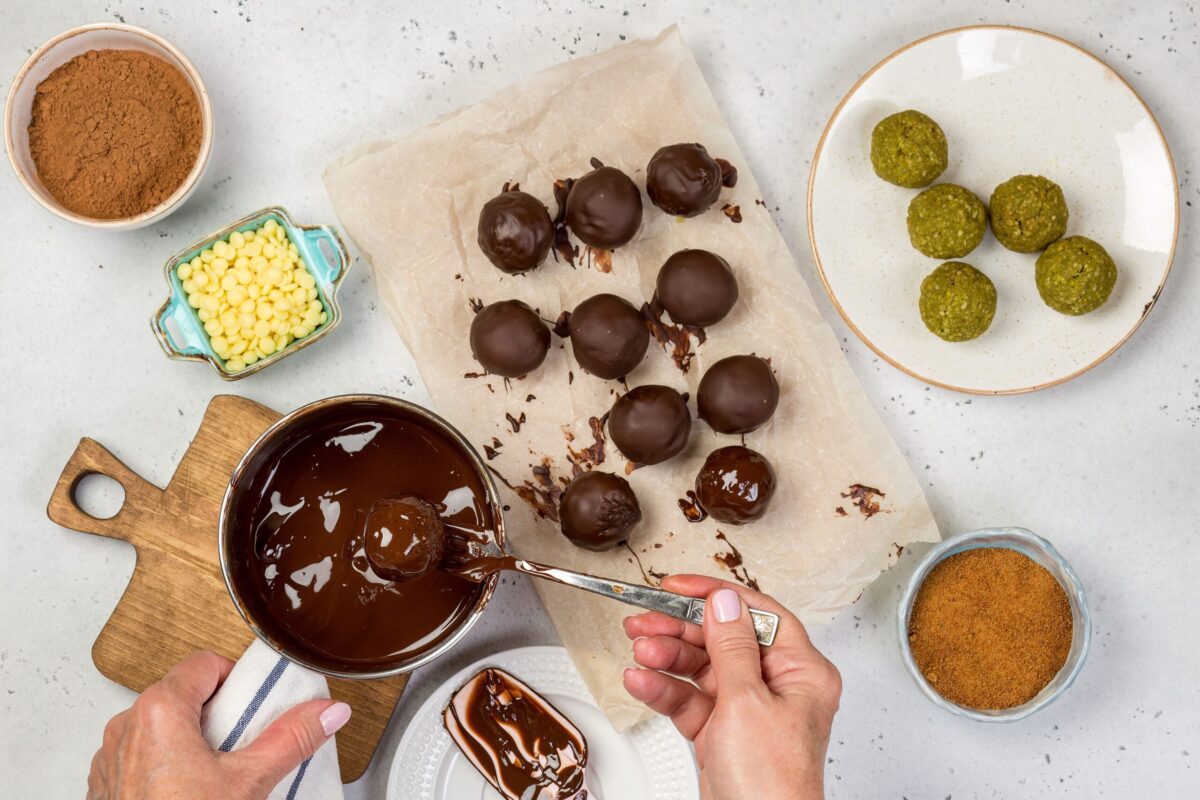
- Use Immediately: Your chocolate is now ready to use! Work quickly to pour it into moulds, dip fruits, or create decorations. Keep stirring the chocolate in the bowl as you work to maintain the temper. If it begins to cool and thicken too much, you can gently warm it over the double boiler for a few seconds to bring it back to its working temperature.
Nutrition Information
Nutritional values are approximate and based on 70% dark chocolate.
| Nutrient | Amount per serving (25g) |
|---|---|
| Calories | 150 kcal |
| Fat | 10g |
| Saturated Fat | 6g |
| Carbohydrates | 12g |
| Sugar | 7g |
| Protein | 2g |